Welcome to the next room of our farmhouse fixer home tour! Today, we are sharing the ensuite bathroom to our nursery.
Originally, this bathroom was much larger; a long and narrow space. It was actually once a master bath in this 1950’s home. Since we wanted to bring the laundry room indoors, we decided to shrink the size of this bathroom and added a laundry room on the other side. Check out the “before” below!
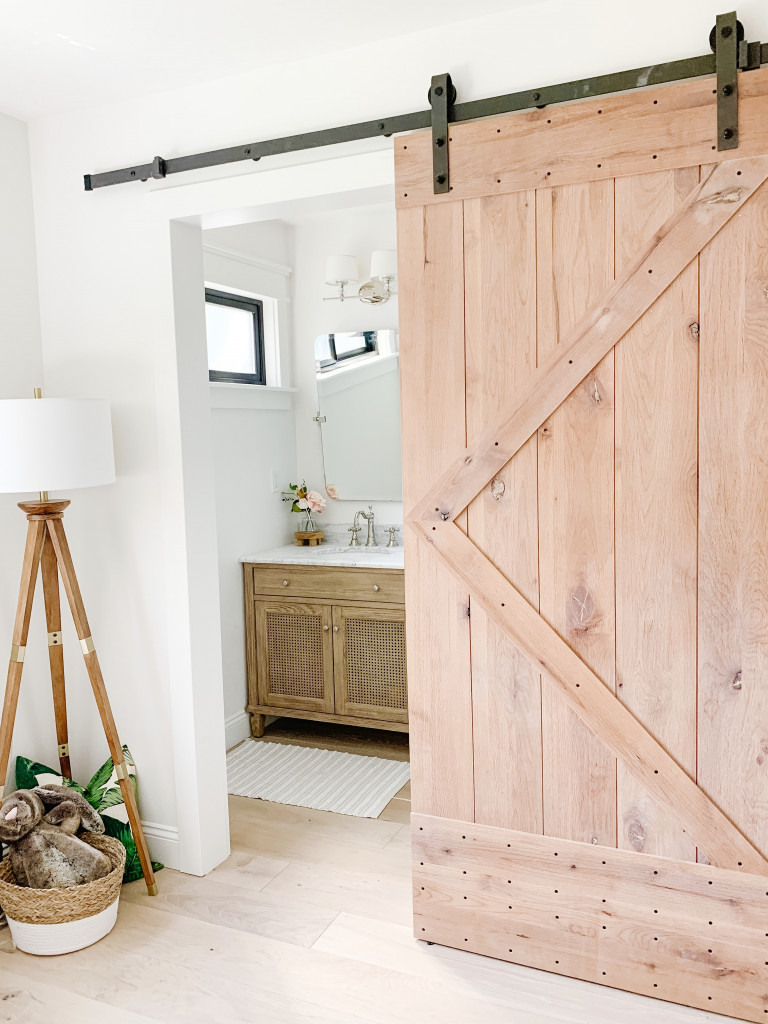
We now have a beautiful guest bedroom with an ensuite bathroom. The room felt warm and cheerful with its large window and the sun shining through. It has such a good feeling to it, I knew I needed to make it the baby’s room instead of a rarely used guest bedroom. This changed our decor plans, and the bathroom became a girly, cute washroom pretty quickly! 😉
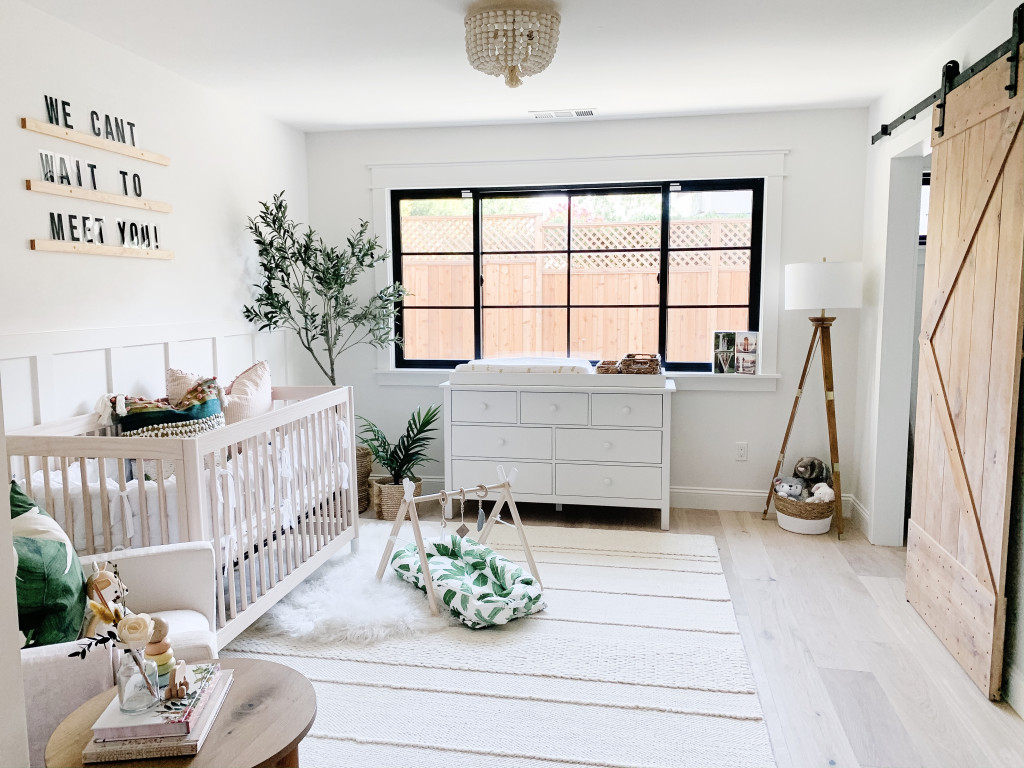
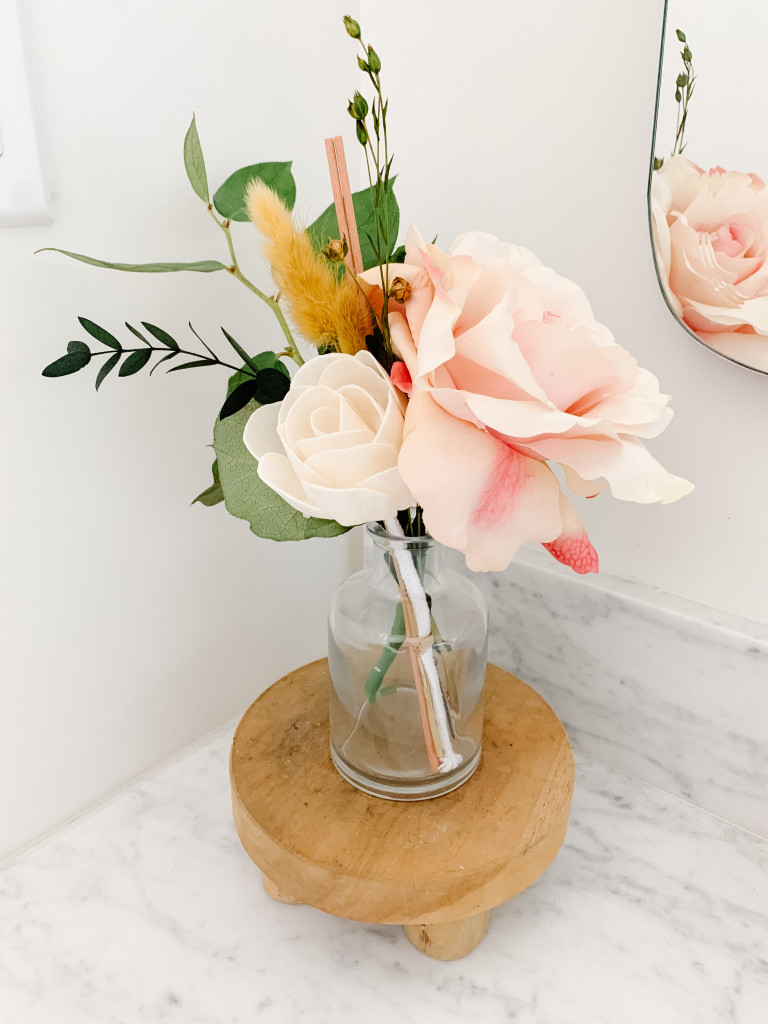
Though the bathroom is smaller, I absolutely love the feel of it. It’s cozy, and has everything you could need right there.
I especially love this pre-fab vanity from Pottery Barn. The honed Carrara marble is elegant and upscale and plays so well against the polished nickel faucet. The cane detail on the cabinet doors inspired me to carry this design throughout the rest of our custom cabinetry in the house. The only thing I will likely change are the knobs it comes with. I plan on changing them out to polished nickel to customize it and give it some more shine.
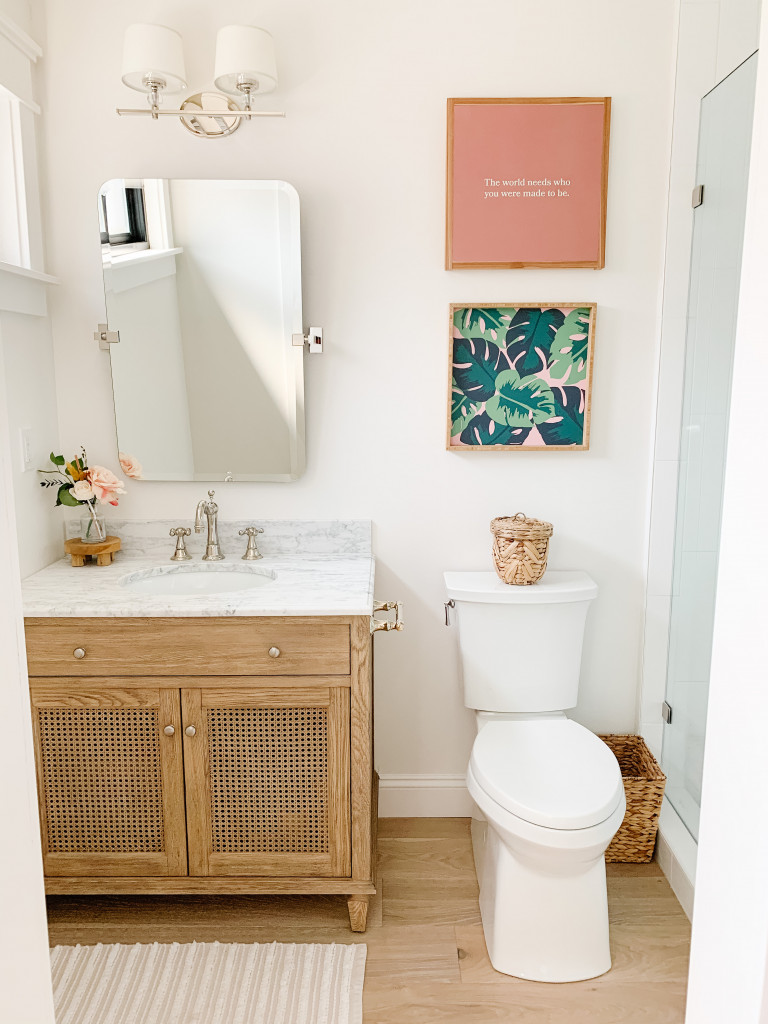
T’s Tip: Know your exact vanity mirror and lighting fixture prior to setting your rough plumbing & rough electrical.
As you can likely tell, I had no idea what mirror or light fixture I was going to choose when the electrician set his wiring. I thought that was part of the “decor” phase and that the placement wouldn’t matter much. WRONG. When It came time to install the mirror and light fixture, the light seemed too high up and wasn’t placed where I’d like it. Rookie mistake!
It’s important to have all your dimensions mapped out prior to working with a plumber or electrician, so you know where to place everything that goes behind the walls.
Now, when I work with clients, all of these items are decided before we even demo a space! We make sure to measure it perfectly and give the layout & dimensions to the contractor, plumber and electrician. If they have any questions, or are having a hard time visualizing it, we use tape to outline where the pre-decided mirror, light fixtures and vanity would go. This helps everyone stay on the same page and you don’t need a design degree to use blue tape!

T’s Tip: Communicate your finish work details upfront.
In the original design on this space, we had vertical shiplap behind the vanity wall for added interest and dimension. Because our project was delayed due to COVID, we ended up skipping finish work like this in an effort to complete our project faster. I regret not sticking to my original plan and making this a priority. I also learned to trust my gut, as shiplap OR wallpaper over a 4’ high board & bat wainscoating would have been so cute in this space!
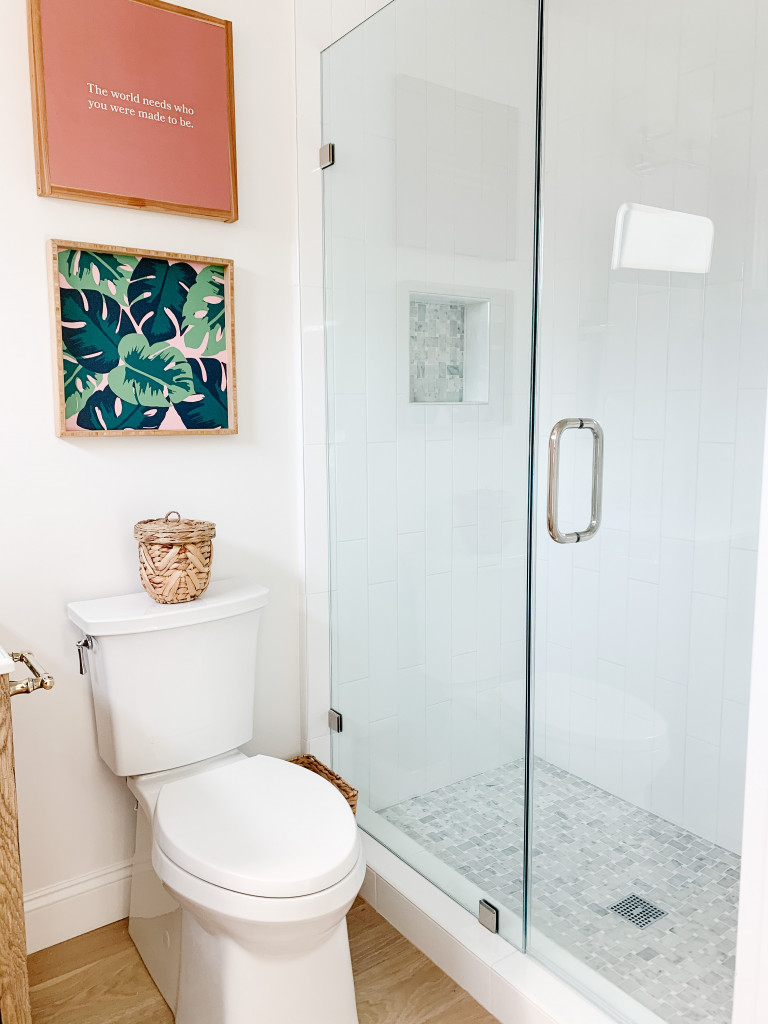
Lastly, I will say I absolutely LOVE the Brizo plumbing fixtures in this space. Every brands “polished nickel” finish is so different, but I truly love the upscale quality of Brizo fixtures and finishes. It elevates a simple space, and pairs so well with the Carrara marble countertop and basketweave shower tile on the floor.
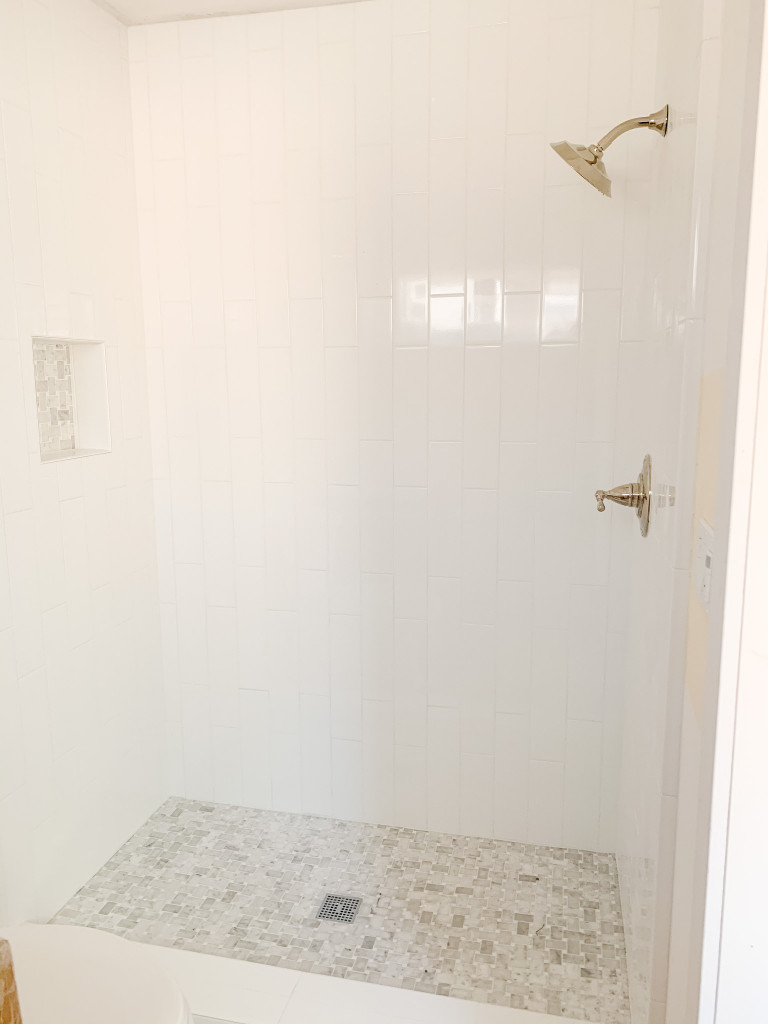
This Akdo basketweave marble pattern is layered with small thassos marble pieces, which work to tie in the white subway tile. The subway is also not your standard size, and we chose to lay it vertically to make the 8’H ceiling appear higher.
Well, that’s all for now! I hope you love this bright & cheery space. Feel free to shop the room, below! 🙂
Happy designing!
xo
-T

